top of page
_edited.jpg)
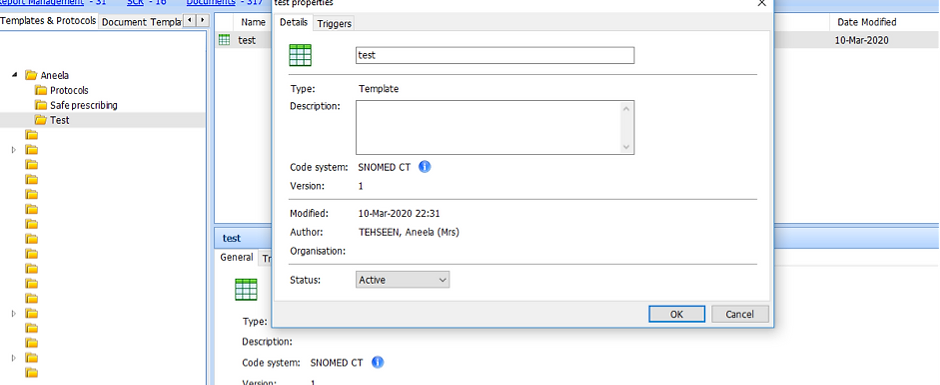
Enabling/Activating template
1) Right-click on the template you want to enable. Now choose properties as shown below

2) Within properties, there are two options; “Details” and “Triggers”.
Choose “trigger” and then “Add”

3) This provides an option of system trigger

There are several options under system trigger. If your template is for a certain drug/drug class category, this is the place to link it to the template. For example if the template is meant to run when a drug is prescribed for the first time, choose “Add a drug”.


4) Now choose if you would like template as a prompt (giving user a choice to run it) or auto-run etc.

5) Now assign appropriate job categories to the template
It’s better to link a safer prescribing template to those individuals who can prescribe. These templates are available for manual run by all job roles within consultation section e.g. HCA, Phlebotomist, pharmacy technician, non prescribing nurse/pharmacist etc.

6) You may repeat the system trigger with another option such as “issue a drug”.
This would mean that the template will be active at not only first time prescribing of that drug but will also get triggered when it is prescribed again from the current medication list. (Please note any medication requests made via workflow do not trigger the template)

7) Once you have agreed with the clinical team that the practice is ready to accept the template(s), set the status to “Active”.
Remember you may change it to draft or inactive during the time of reviewing of template.

bottom of page